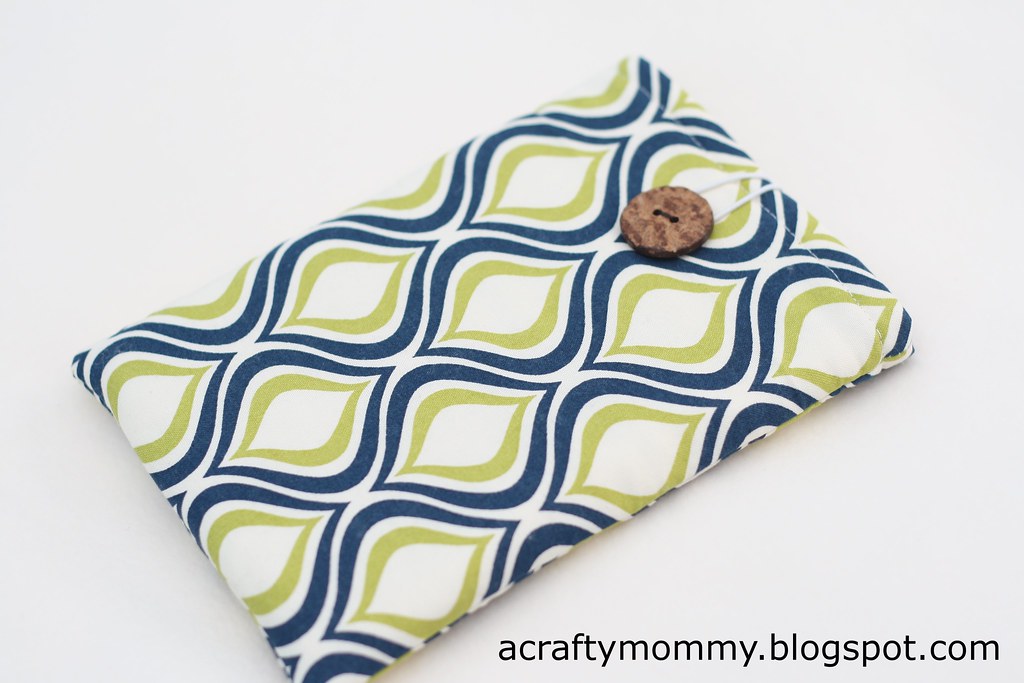
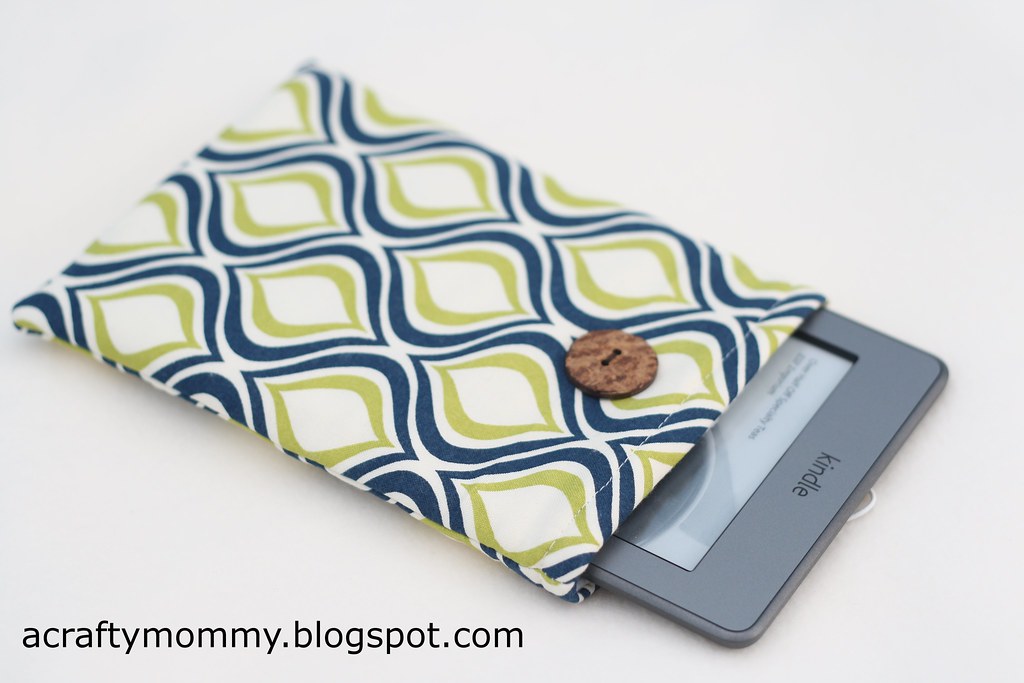
Skill level: beginner
Materials:
Fabric for outside, you will only need about 1/4 yard for a kindle and you will have some left over
Fabric for lining, my sister picked a white microfleece because she wanted her Kindle nice and cozy! Again you need about 1/4 yard
Batting, this really isn't necessary especially if you use thicker lining and outer fabrics but it does give an extra layer of protection. I used Warm and Natural white quilt batting.
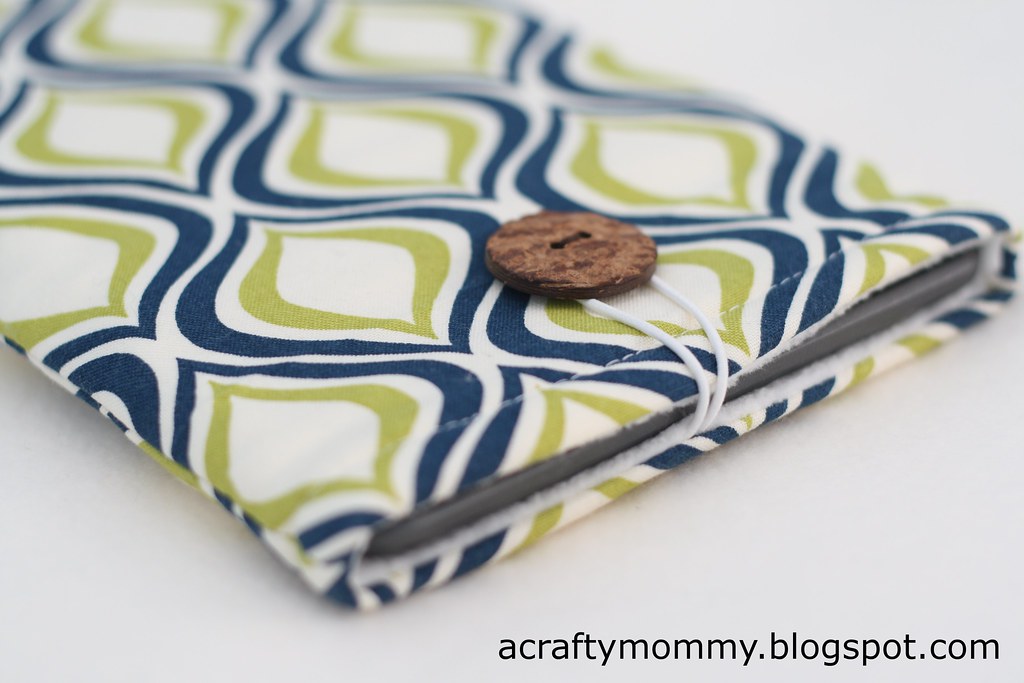
Elastic cording, only need 5" of this
Button
Start by measuring your Kindle. measure all the way around because you want to account for the thickness of the Kindle too.
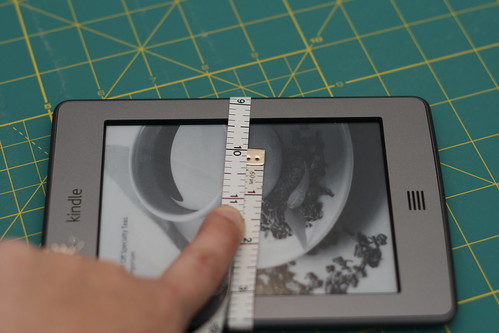
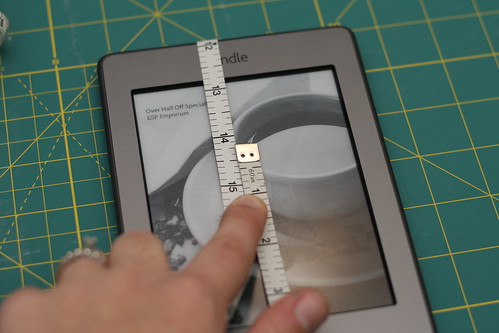
This Kindle is about 14" one way and 10" the other. Next divide those measurements by 2, and add 1" for seam allowances and 1/2" so the case isn't too snug.
10 / 2 + 1 + .5 = 6.5"
14 / 2 +1 + .5 = 8.5"
Next cut out your fabric using your measurements, you will need two 6.5"x 8.5" rectangles of both your lining and your outer fabric. I cut my batting to 6.5" x 8" because I didn't want too much bulk across the top.

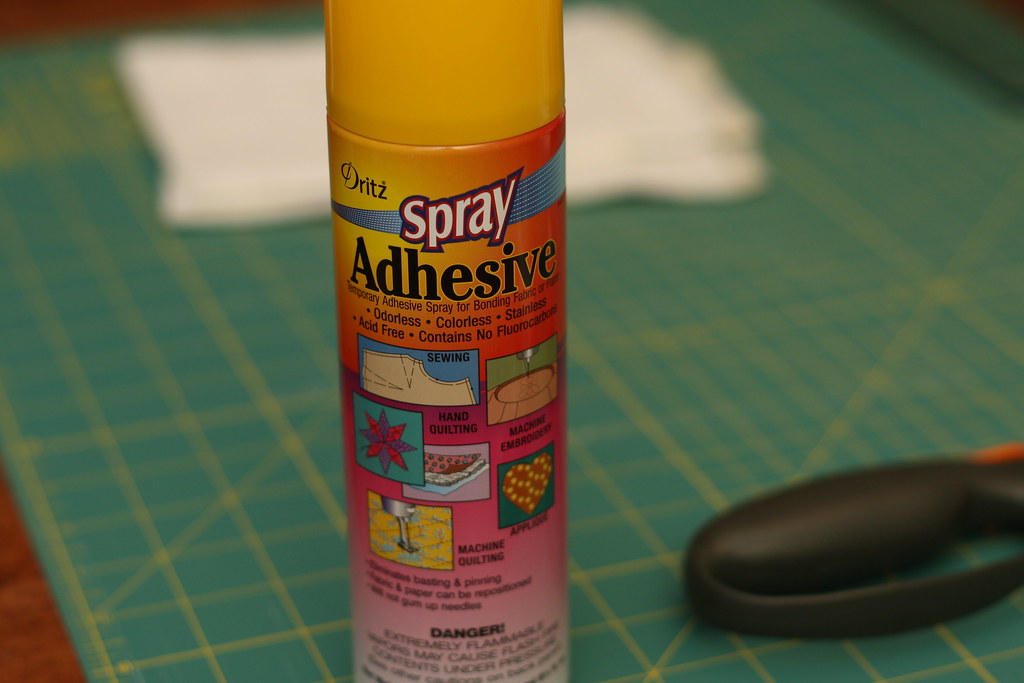
Next I used a basting spray to hold my batting to my outer fabric while I sewed, if you don't have a basting spray, you can use a basting stitch around the two sides and the bottom or just use pins to keep it in place.
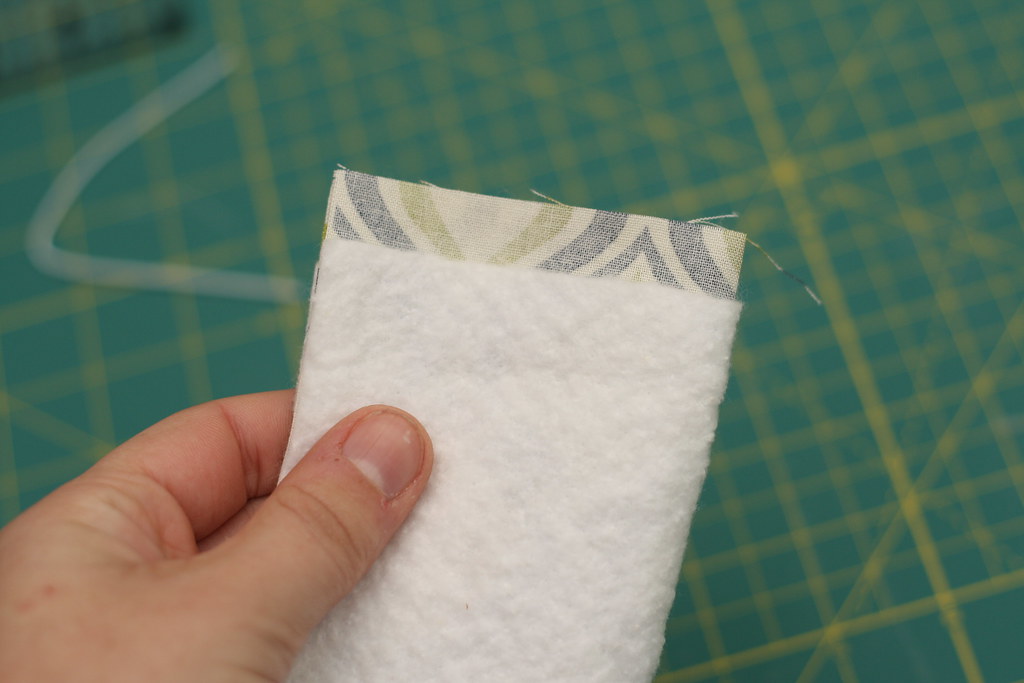
Because I cut the batting a bit shorter, I have .5" across the top with no batting.

Fold one side in half to determine where your elastic will go.
I used a piece of tape to hold my elastic in place right in the middle.

Next place your outer fabric with batting attached right sides together with your lining. Sew across the top just above the batting.
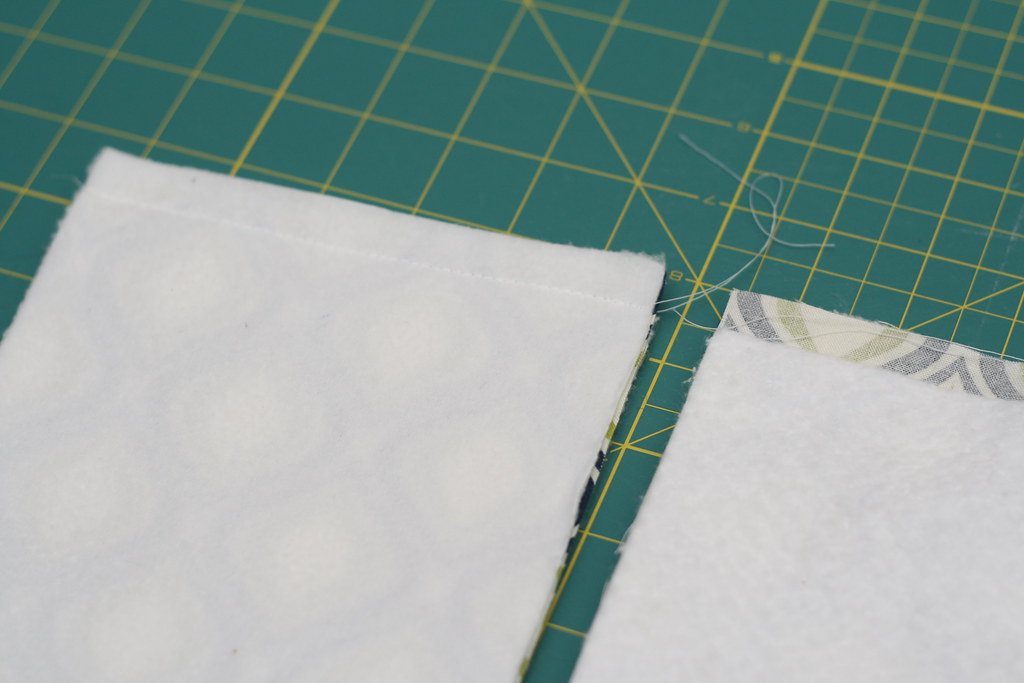
Go back and forth over the elastic in the seam allowance a few times to make sure it won't pull out.
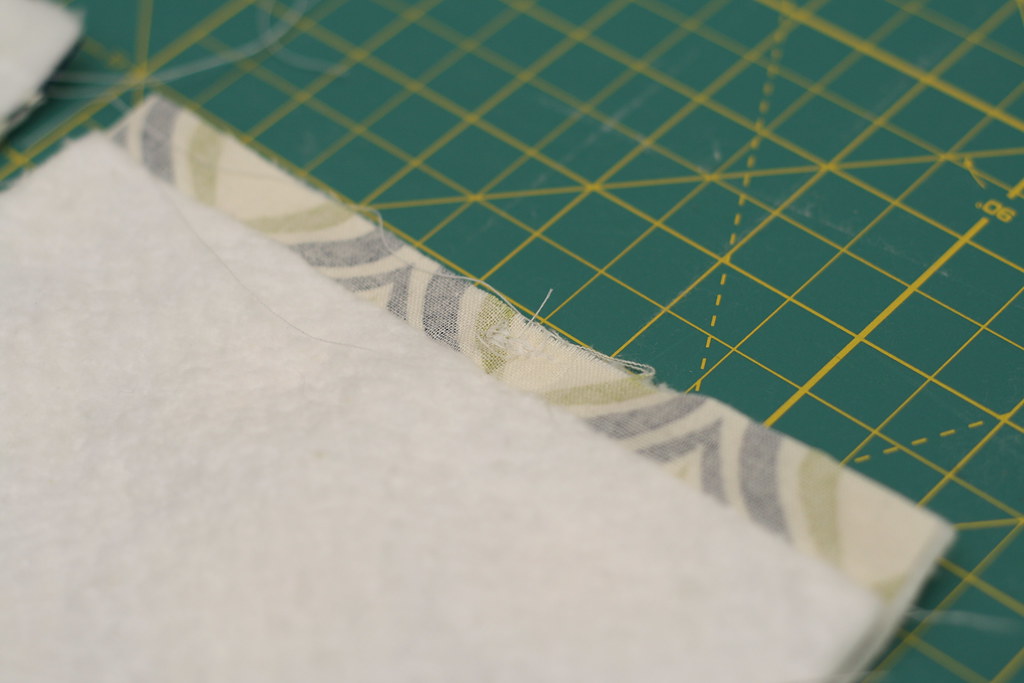
Unfold both pieces and place them right sides together. Line up the seams in the middle and pin in place.

Starting at the bottom of the lining, sew all the way around the edge with a 1/2" seam allowance. Leave a small opening at the bottom of the lining.
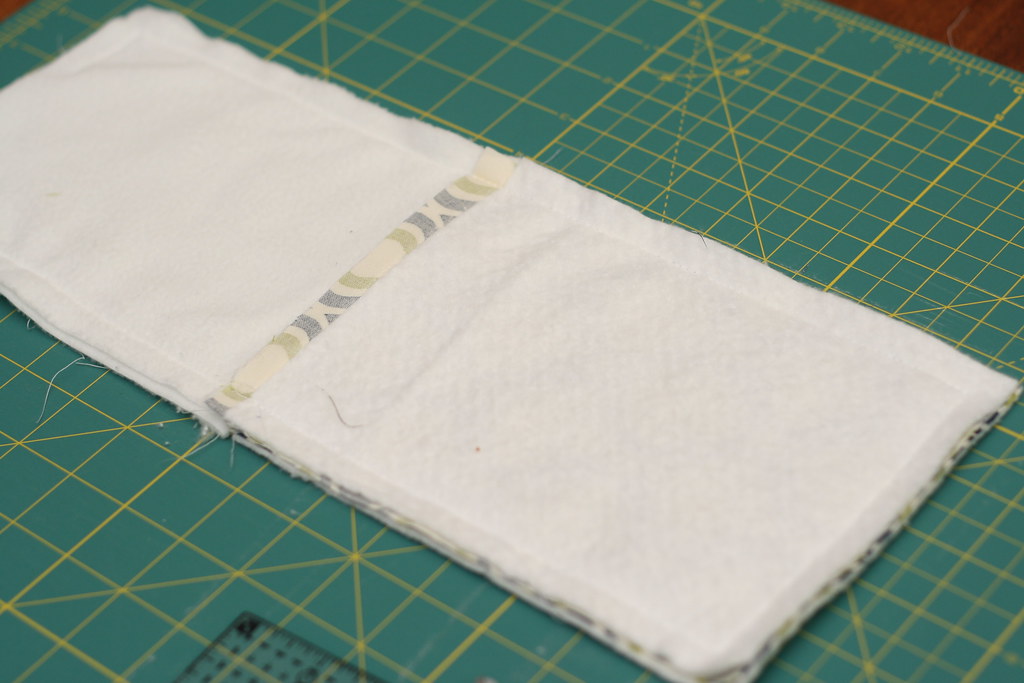
Clip the corners at a diagonal close to the stitching to reduce the bulk in the corners. Be careful not to clip your stitches!

Turn your case right side out through the opening you left in the bottom of the lining. Next you will need to close that hole. You can hand stitch it if you prefer, I just sewed it shut with my machine, it is way at the bottom of the case so no on will see it anyway. Then tuck the lining down inside and top stitch around the top of the case.

Next determine where you want your button and stitch it on. I like to put a toothpick under the button when I sew it on so the elastic has enough space to easily slip under it. Don't you love this button my sister picked out? It is made of coconut shell!

All done! Enjoy!


Hi, I pinned this on Pinterest, I hope that's okay. Thanks so much for the tutorial. It's SO cute!!!!
ReplyDeleteI don't mind at all if you pin my stuff, I love seeing stuff I made pop up on pintrest!
DeleteWhat are your seam allowances? Thanks!
ReplyDeleteSeam allowances are 1/2"
DeleteUsing my TOMS flag to make this, thanks for the great idea!!
ReplyDeleteThank you. This was exactly what I was looking for.
ReplyDeleteExcellent Blog! I would like to thank for the efforts you have made in writing this post. I am hoping the same best work from you in the future as well. I wanted to thank you for this websites! Thanks for sharing. Assignment Editing Services
ReplyDeletetime tracking app Record both in Timelogger for simple team management.
ReplyDelete
ReplyDeleteI appreciated looking at your article. Very wonderful reveal. I would like to twit this on my followers. Many thanks!
toponlinegeneral
rustwire
toponlinegenerals
techwithgeeks
versionate
alltechpride
Nice phone cover. You can also visit the Kerf case to see the wooden phone case collections they have.
ReplyDelete