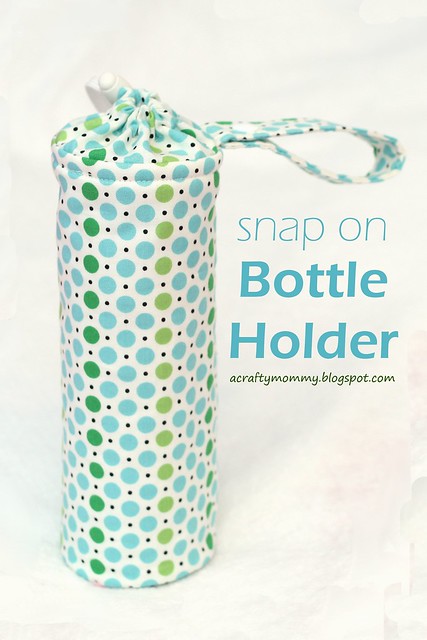
It is the perfect size to hold a 16oz water bottle and also fits most of our sippy cups. It works great on the stroller but could even snap on the strap of my diaper bag too.

Want your own bottle holder? Check out my tutorial below!
Skill Level: Intermediate
Materials:
Fabric for the lining and exterior
Batting, you can get an insulating material that is used for things like lunch boxes, it is in with the utility fabrics at the fabric store. That will help keep you bottle cool, I just used some warm and natural quilt batting.
A small piece of iron on interfacing for the strap.
Some 1/4" elastic
A cord stopper
A snap
From your outer fabric cut:
one 9.5"x10" rectangle
one 3.5" circle
one 4"x10" rectangle
one 2.5"x9" rectangle
From your lining and your batting cut:
one 9.5"x10" rectangle
one 3.5" circle
and cut one 2.5"x9" rectangle from your interfacing
If you need tips on how to make a circle template, check out my tutorial here.
Iron your interfacing to your 2.5"x9" outer fabric
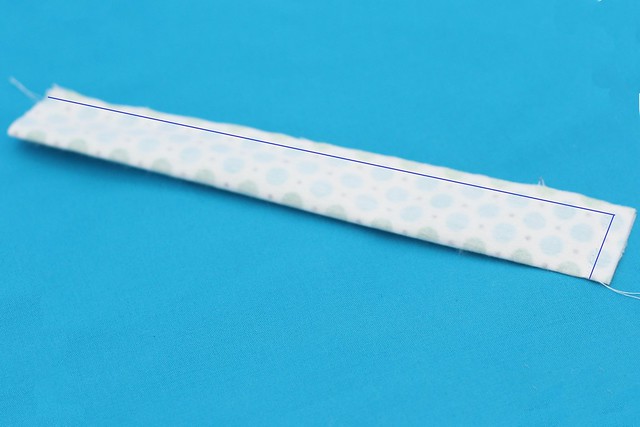
Fold the strip in half and sew along two sides leaving one end open.
Turn the strip right side out and top stitch. Then set it aside for later.
Take your 4"x10" rectangle. I serged the ends of mine, you can serge or finish them with a zig zag stitch if you want. They will be on the inside of the casing so you can skip that step if you want.
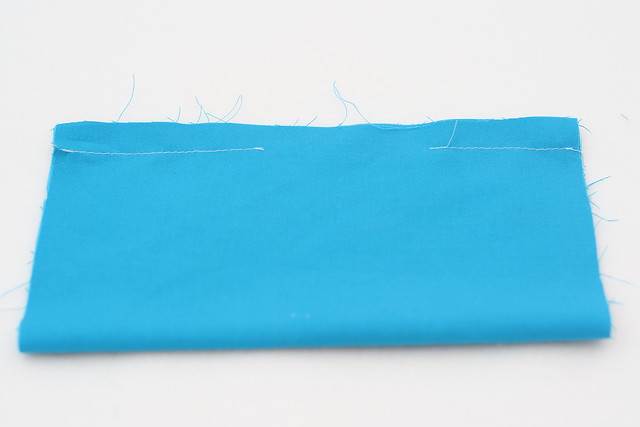
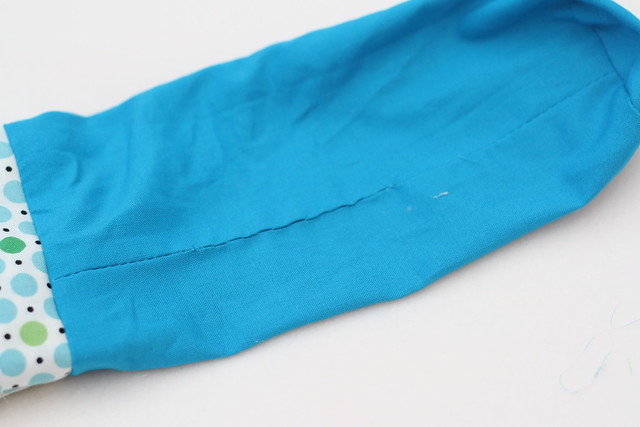
Fold the rectangle in half and sew the ends with a 1/2" seam allowance. Start at the raw edge and stop sewing 1/2" from the fold, this will leave a small opening at the top.
Turn right side out and top stitch 1/2" from the fold, this will create the casing for the elastic at the top. Set this piece aside with the strap you just made.
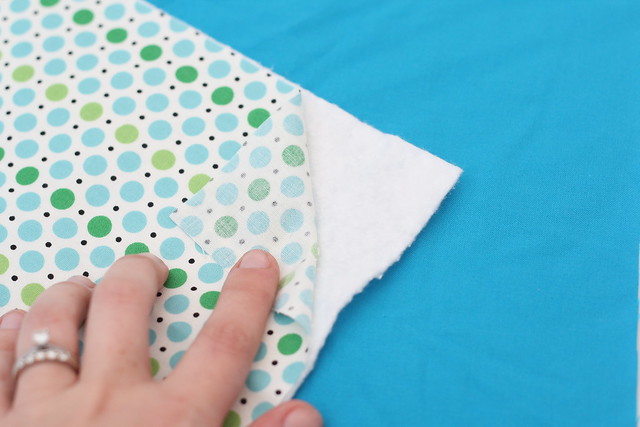
Baste your batting pieces to the wrong side of your outer rectangle and circle. I used a basting spray.
Fold your rectangle in half, lining up the 9.5" sides, right sides together, and sew the 9.5" sides together with 1/2" seam allowance to form a tube. Press your seam open.
Pin your circle to one end of the tube and sew it in place.
Trim off the seam allowance close to the seam.
Fold your lining in half, lining up the 9.5" sides and sew it together. Leave a hole in the middle about 2-3", this is where you will turn it right side out once you get everything together.
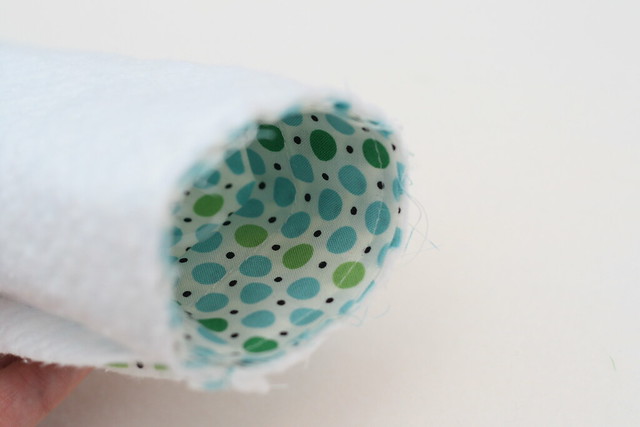
Press your seam open. Sew the circle piece to one end.
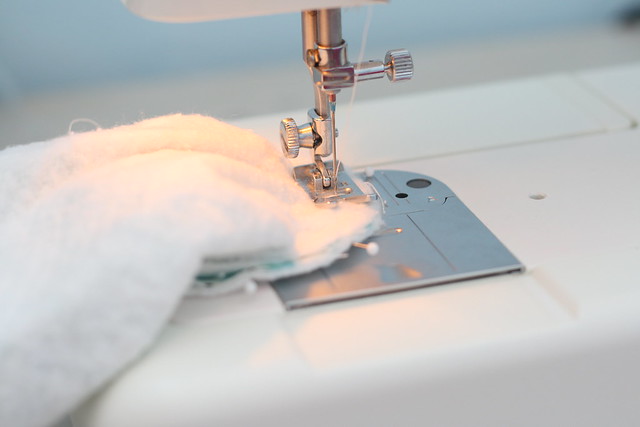
Next take the strap you finished and set aside earlier. Pin the raw edge to the outside of the bottle holder on top of the seam and stitch it in place with a basting stitch.
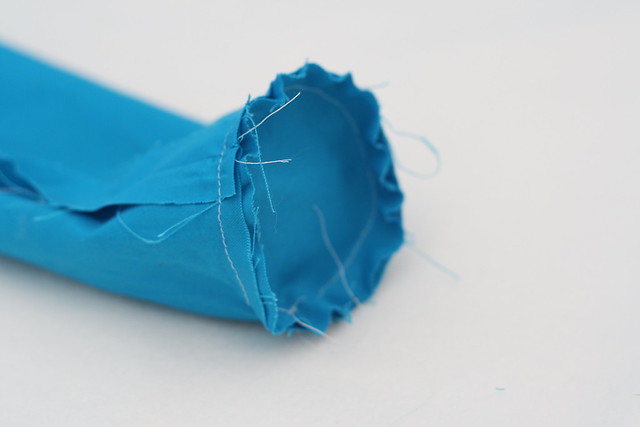
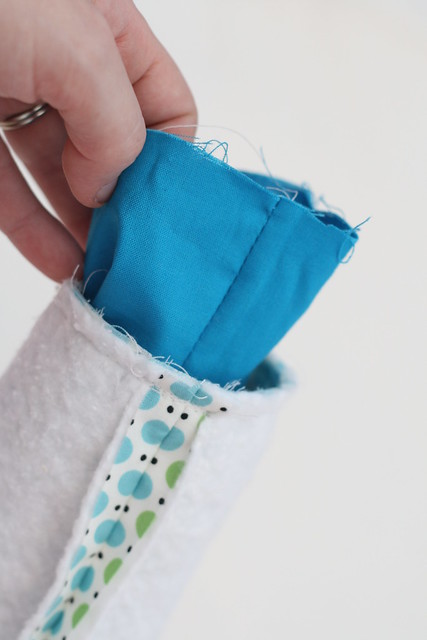
Next take the other piece you had set aside and line up the raw edge with the raw edge of the bottle holder. It should fit all the way around, I put the opening to the side of the seam on the bottle holder. Pin it in place and then stitch it in place with a basting stitch.
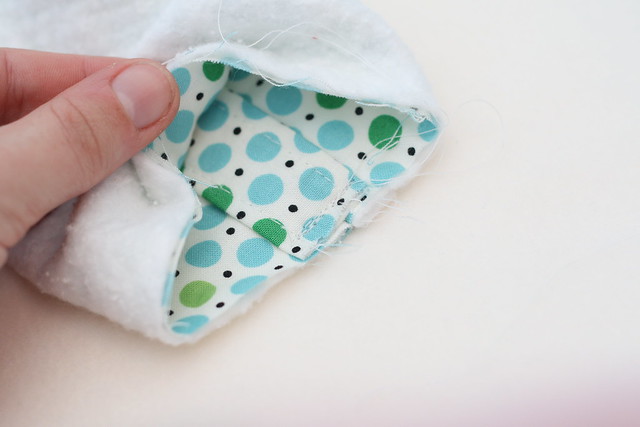
Turn your lining right side out and tuck it inside your outer piece.
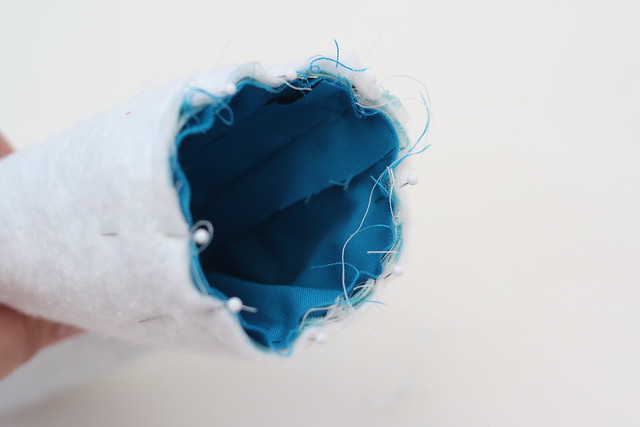
Pin the raw edges together
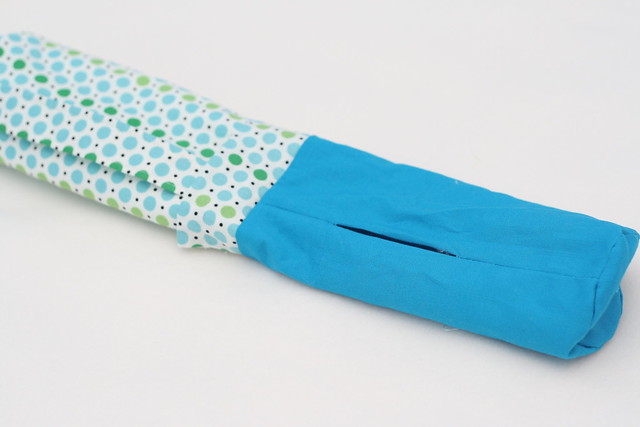
Sew along the edge with a 1/2" seam allowance. Turn everything right side out through the hole in the lining.
Sew the hole in the lining closed.
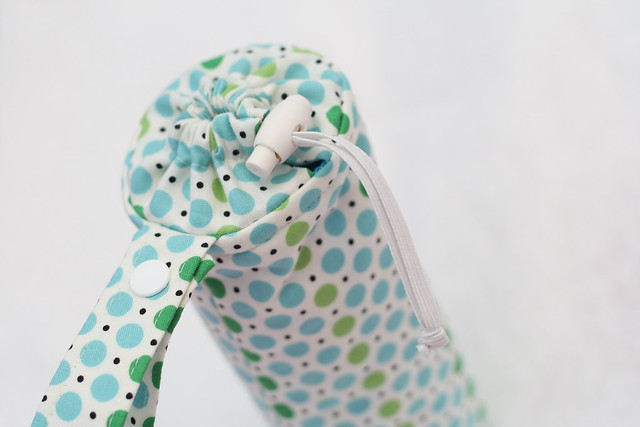
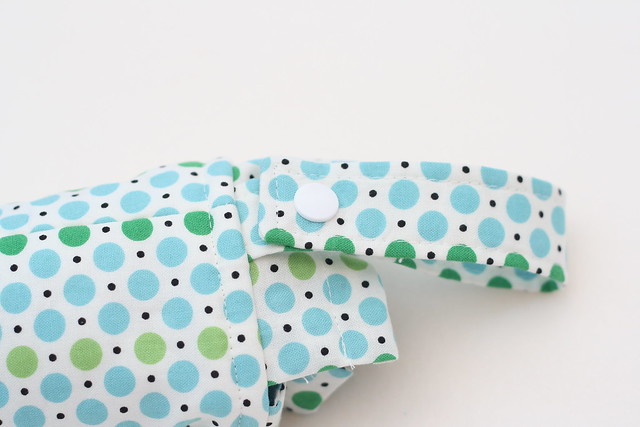
Tuck the lining down inside the bottle holder. Top stitch around the top. Then fold your strap down and add you snap to create a loop.
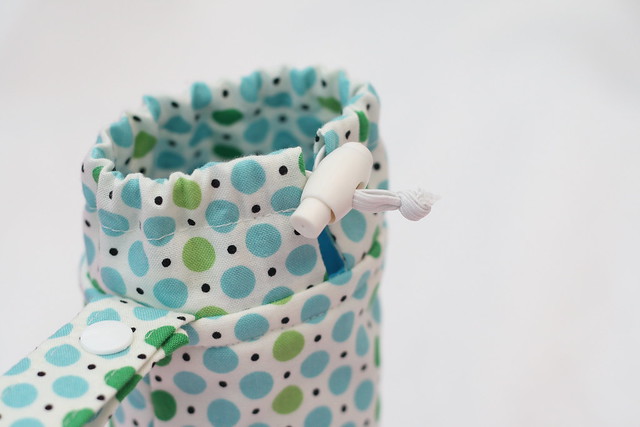
Thread your elastic through the casing in the top. put both ends of elastic through the cord stopper and secure it with a knot.
All done. Now fill it with your bottle and snap it on your stroller or diaper bag!








Great tutorial!
ReplyDeleteGostei muito do seu tutorial, parabéns. Eu também gosto de costurar e minha mãe viu seu blog e me pediu para eu costurar pra ela. Beijos, Claudia.
ReplyDeletegreat idea - why not make some for the elderly for their walkers/scooters etc - would be perfect
ReplyDeleteyou may be raring to do a reversal to work and would require additional jugs to store your own particular milk in for your infant when you are grinding away. This implies you need a heap of encouraging containers at home that are durable and can keep going for quite a while. Dionna
ReplyDeleteLove the water bottle holder.Need one for my walker. A must do.
ReplyDeleteGracias por el tutorial, muy practico
ReplyDeleteCrystal Water Bootle.
ReplyDeletehttps://crystalwaterbottle.blogspot.com
It is a brand representing quality, and it is a brand representing strong picture. Snap On Decals
ReplyDeleteEffective feeding is more than just putting the nipples into the baby's mouth. It is more about controlling the flow and ensuring the baby takes in a good amount of milk and not get asleep. This guide is a nice representation of what it takes to do that.
ReplyDeleteAmethyst opens the gateway to divine consciousness and higher intuition by providing clarity when there's confusion in the mind. Know more information about crystal infused water bottle.
ReplyDeleteAlkaline water does not reduce the incidence of osteoporosis, also known as bone loss. Drinking alkaline water contributing to bone loss found no association between dietary intake of acidic versus alkaline foods or drinks.
ReplyDeleteBefore purchasing hot water heaters, it's also a good idea to estimate its annual operating costs and compare those costs with other less or more energy-efficient models.
ReplyDeletegood job
ReplyDeleteCool tutorial
ReplyDelete