Mar 14, 2016

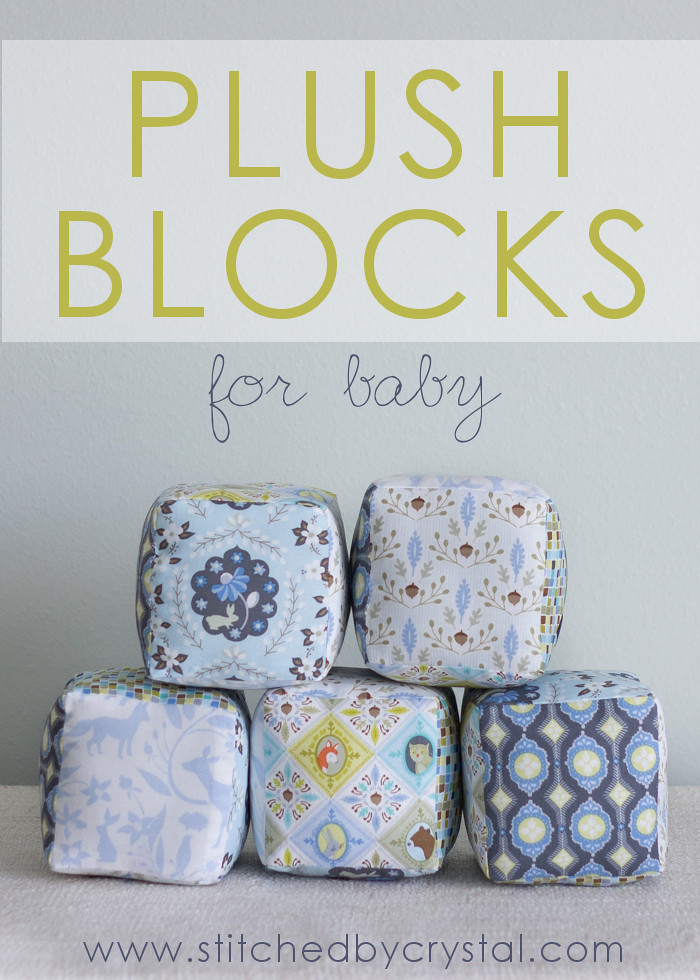
Plush Blocks for Baby

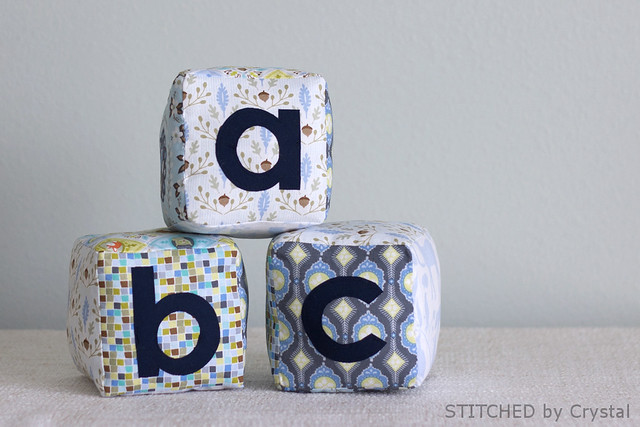
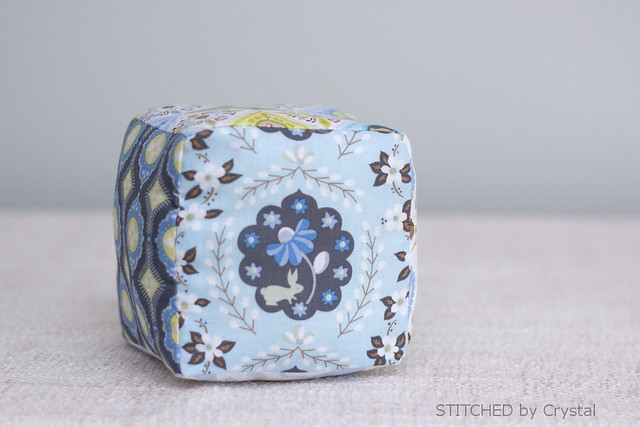
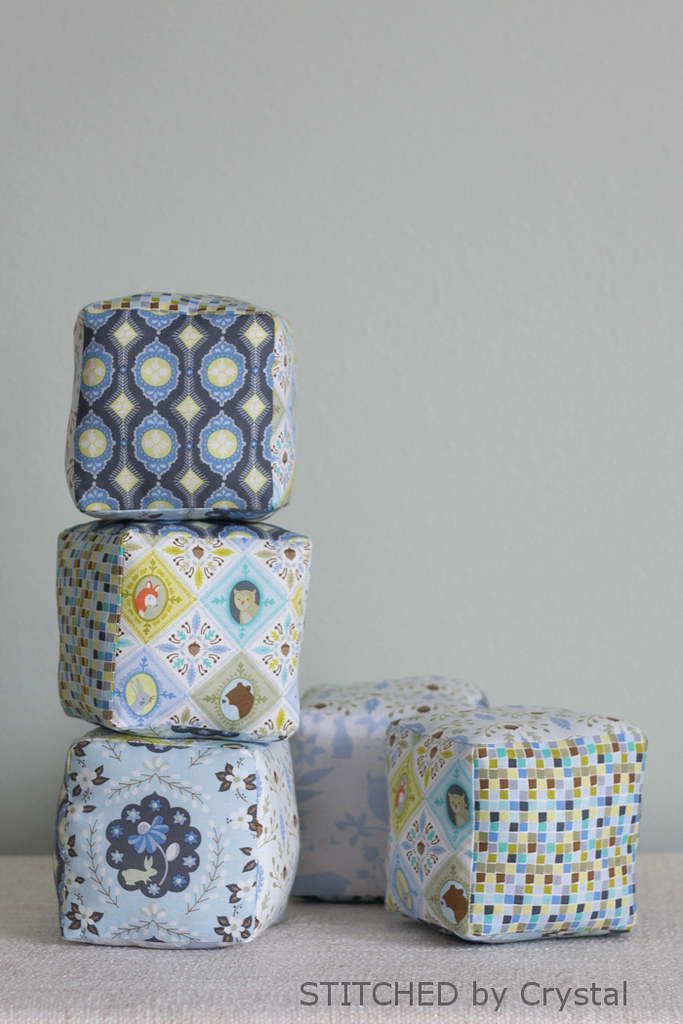
When I received some beautiful fabric in the mail last week I was excited to finally sew some for my new little guy! The Born Wild collection by Ana Davis for Blend Fabrics has both blue and pink color ways featuring adorable woodland creatures.  The blue colorway is perfect for baby boy!  I used all six of the blue prints for these six sided plush blocks.


These soft 4" blocks are great for snuggling, tossing, and stacking.  Baby J is still too small for them, but he will be playing with them in just a few short weeks and they make an adorable nursery decoration in the meantime!
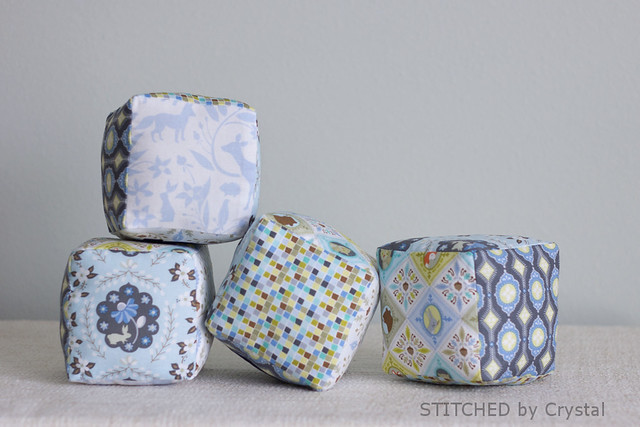

The blocks sew up fast and easy and would make a really fun baby shower gift!
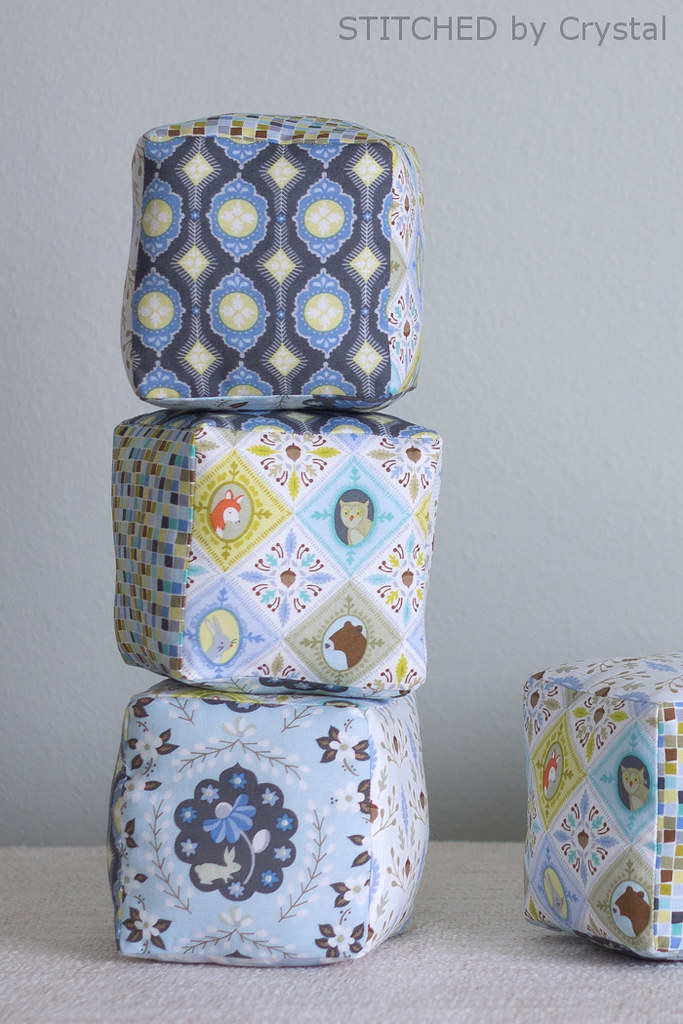

I just love these whimsical woodland creatures on the sides of these blocks!

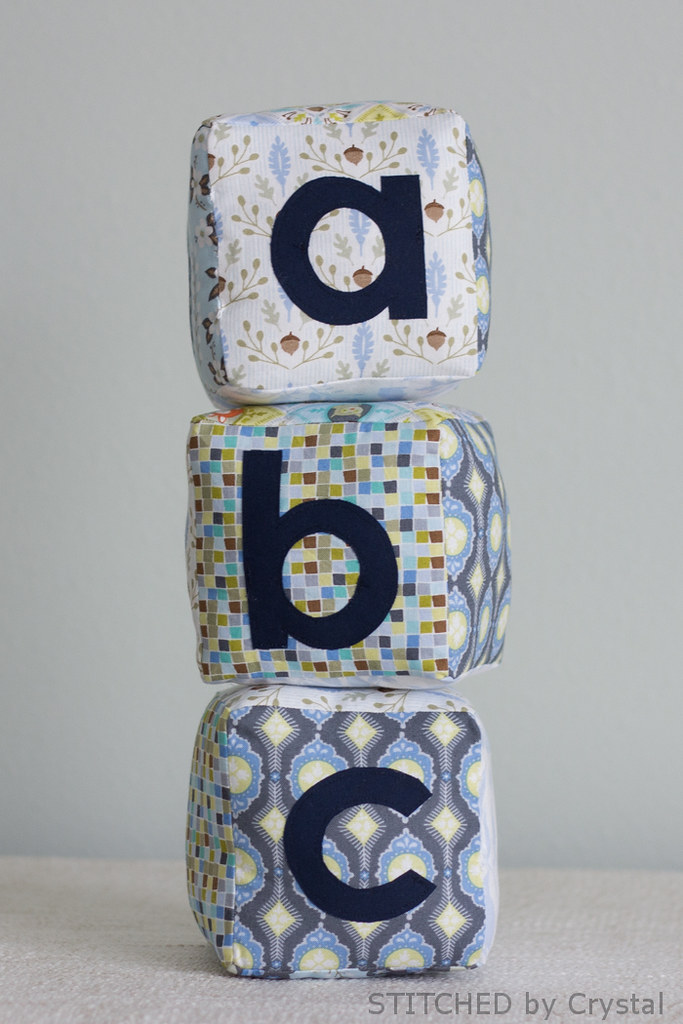
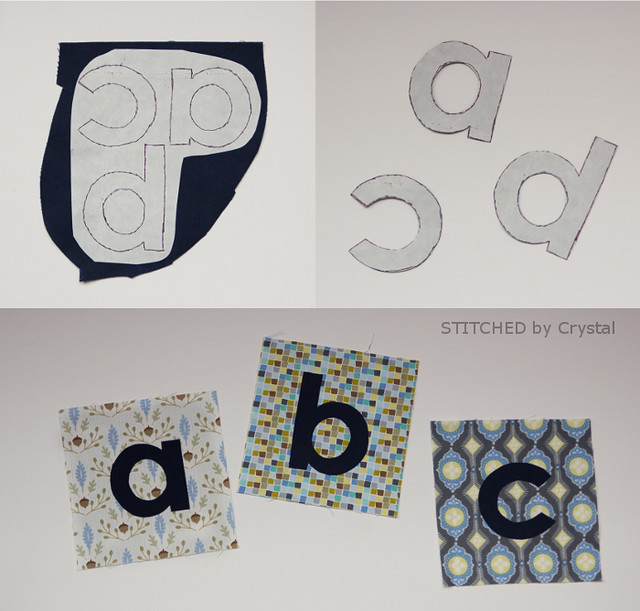
Some letters are a fun addition to the side of the blocks.  You can do a simple "a b c" or maybe spell out your little ones name. 

Want to make some plush blocks? Let me show you how!
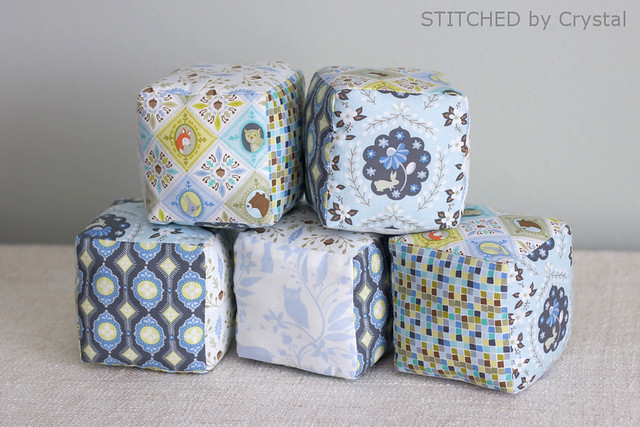

You will need...
If you want to add the letters you will also need...
  • coordinating fabric scraps
  • heat n bond
  • iron
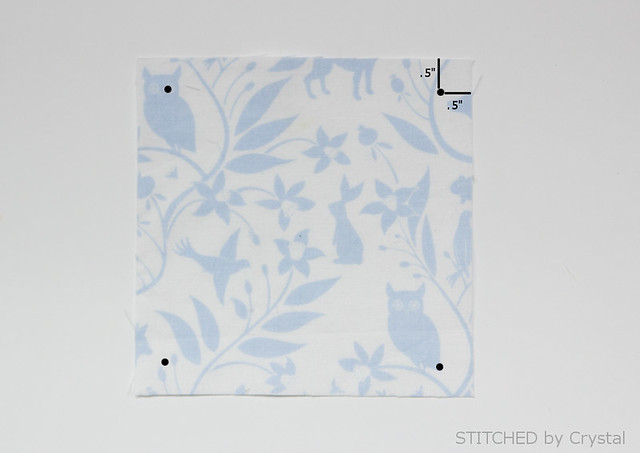
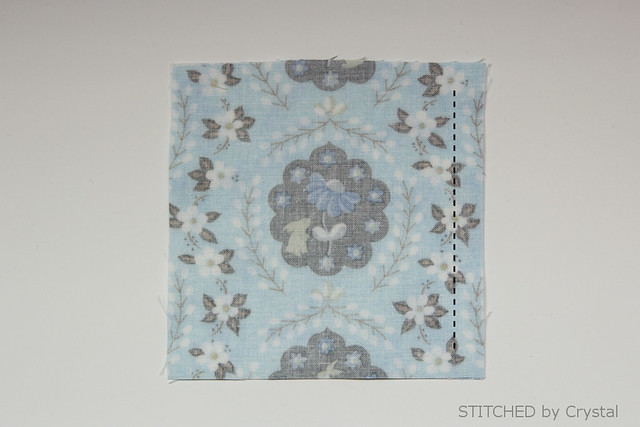
For each block, cut six 5" x 5" squares.  Mark the corners of each square 1/2" from the sides as shown below.

If you want to add letters to your blocks, draw or trace the letters to the paper side of the heat n bond.  The letters need to be backwards when drawn on the heat n bond.  Iron the heat n bond to the back side of the letter fabric.  Cut out the letters.  Remove the paper backing and iron the letters to the middle of the block squares.  sew around the letters with a straight or zig zag stitch.

Place 2 squares right sides together and sew along one side starting and stopping at the corner marks, 1/2" from the edges.  Make sure you back stitch at both ends to prevent your thread from unraveling.


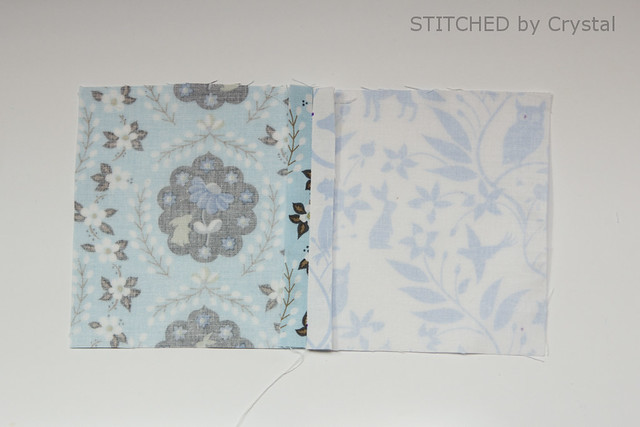
Press the seam open.

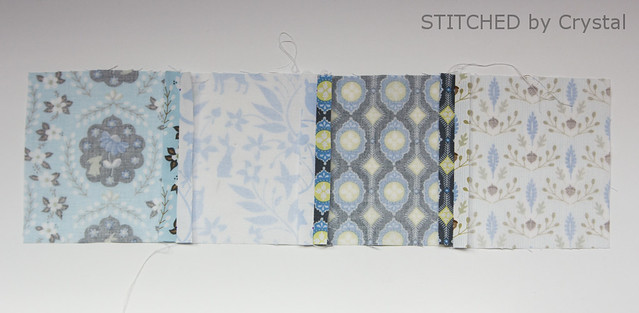
Repeat those steps to sew a row of four squares together.

Fold the row to sew the 2 end blocks together.  Sew from the 1/2" marks about 1", leaving a 2" opening in the middle as shown below.  Again make sure you back stitch at the start and end of each stitch.
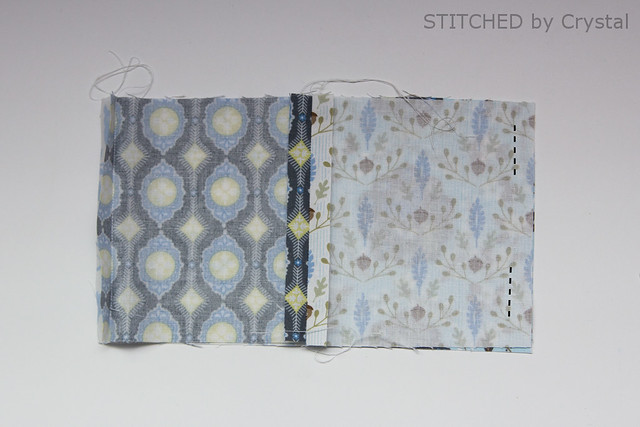

Pin one of the remaining squares to the top, lining up the corner marks with the seams.  sew all the way around the top of the cube.  Repeat to add the final square to the bottom.
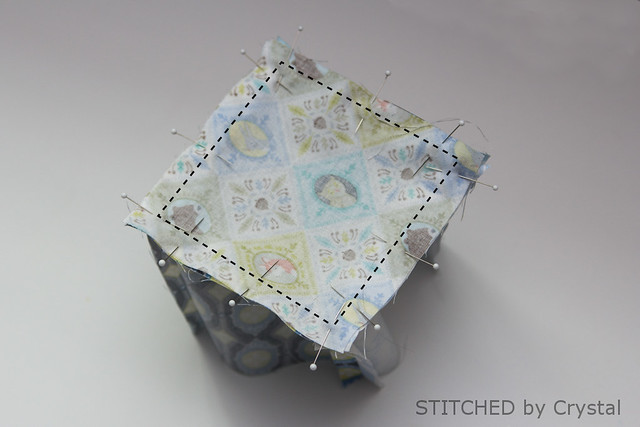

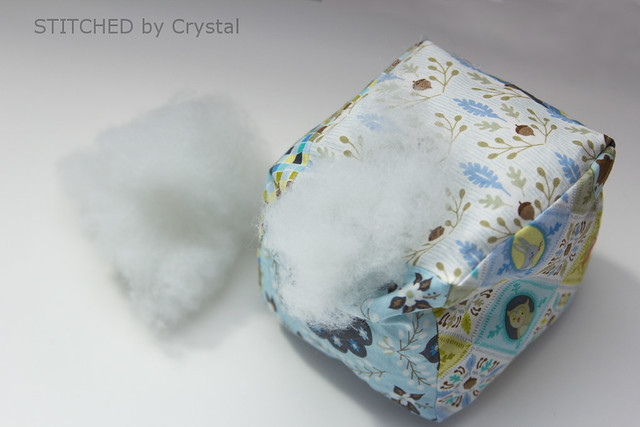
Turn the block right side out through the hole left in the side and stiff the block.

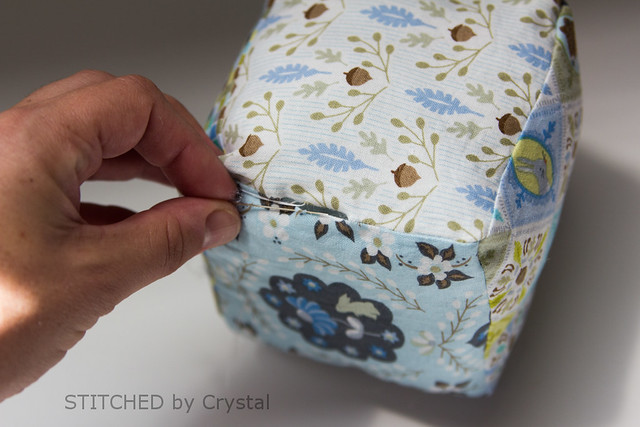
Hand stitch the hole closed with a ladder stitch.

Your blocks are ready for stacking!


Mar 7, 2016

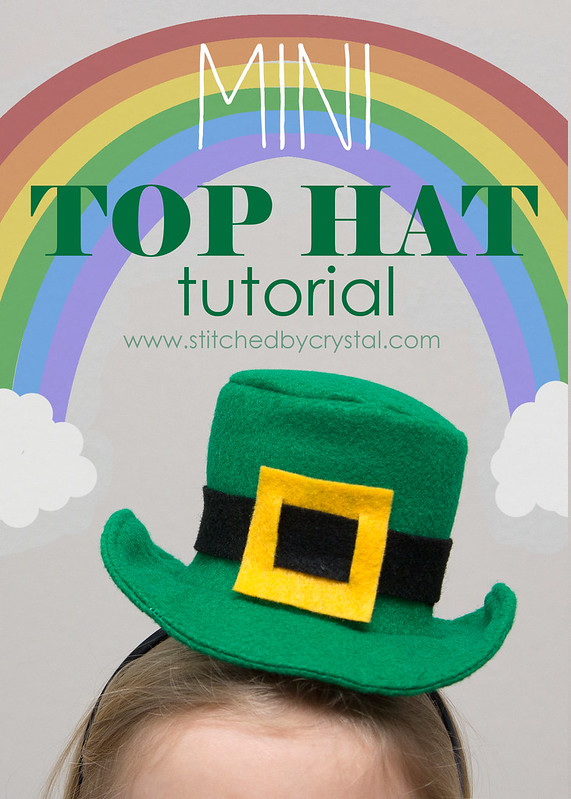
Mini Top Hat Tutorial

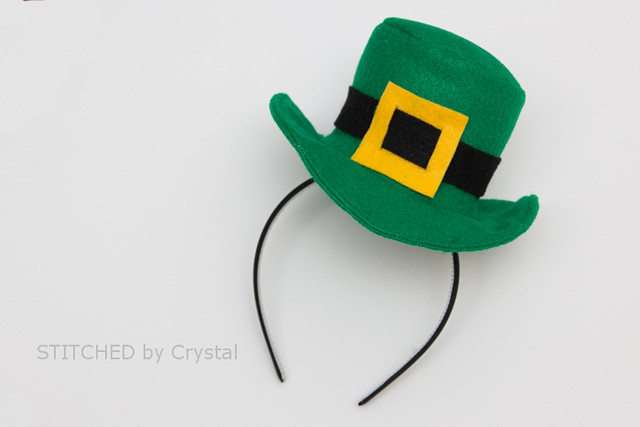
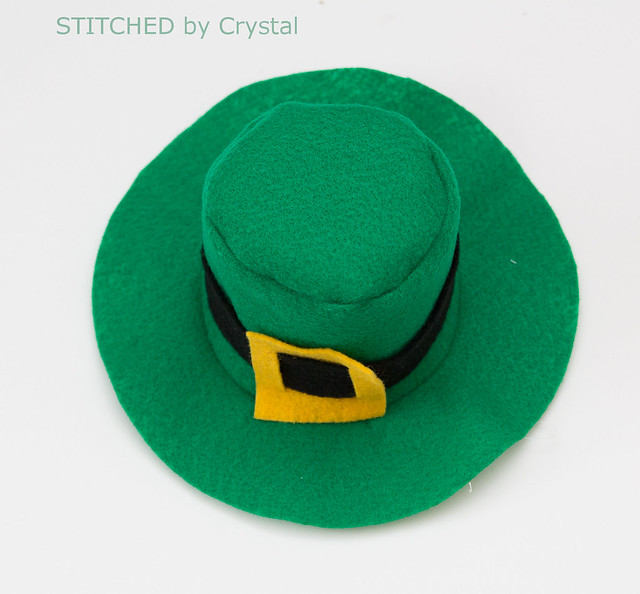
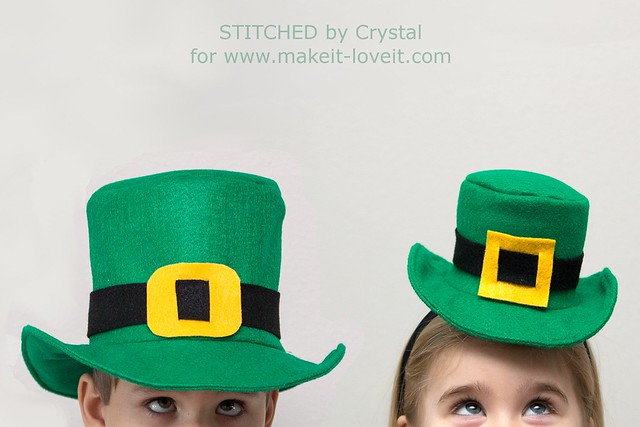
St Patrick's day is next week! I am over at Make it & Love it today with a fun top hat you can make in leprechaun green for your St Pat's attire.  But I thought it would be fun to shrink it down a bit and make a mini to hat too!


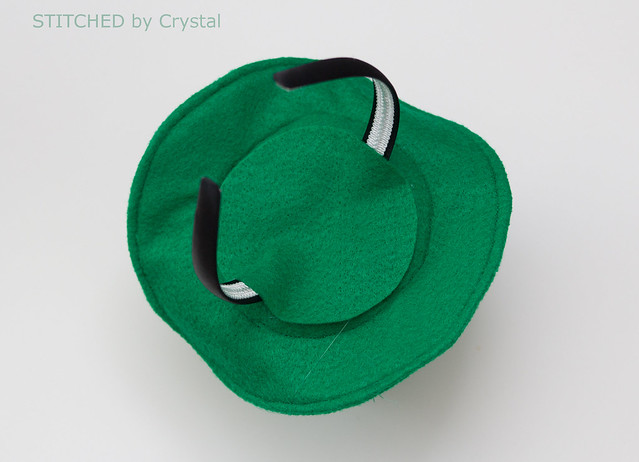
This cute little top hat is attached to a headband, perfect for daintier leprechauns.


Want to make a little top hat?
You can find the top hat pattern over at Make it & Love it today!  You will also need some felt (a couple green sheets, a black, and a yellow), some batting, a hot glue gun and sewing supplies.

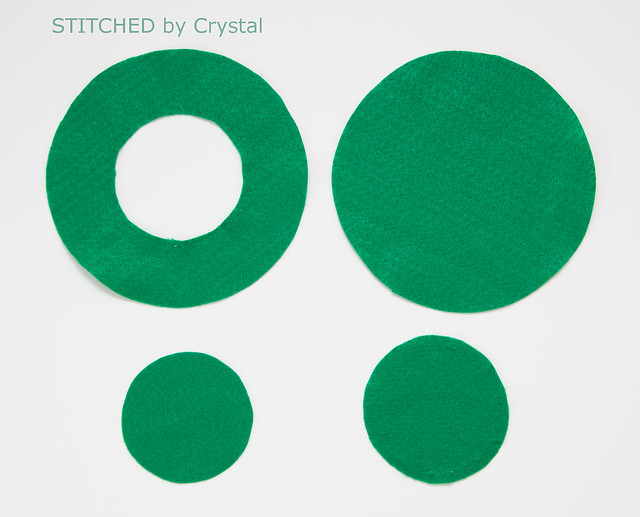
Print the pattern at 50% its size.  Cut out one top and 2 brims, but only cut the middle hole in one brim and do not discard the hole, leave the second brim pieces without the hole in the middle.


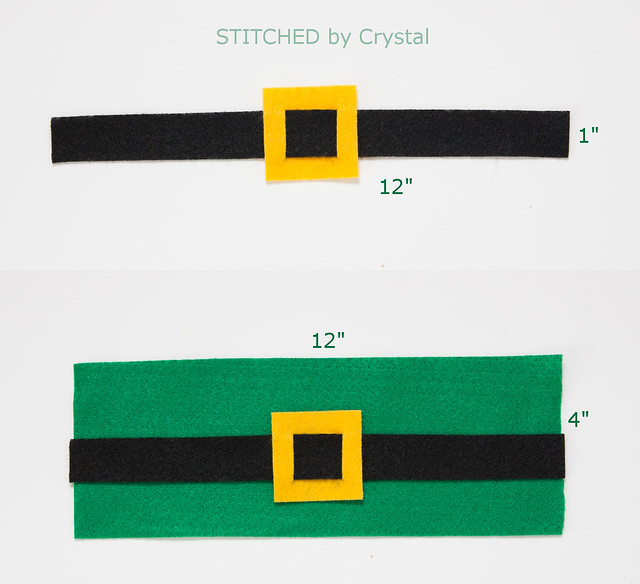
Also cut a 12" x 4" rectangle for the hat sides, a 1" x 12" strip for the belt, and a 2" x 2" square for the buckle.  Cut 2 slits in the buckle and slide it on the belt.  Then baste the belt to the hat about 1" from the bottom.


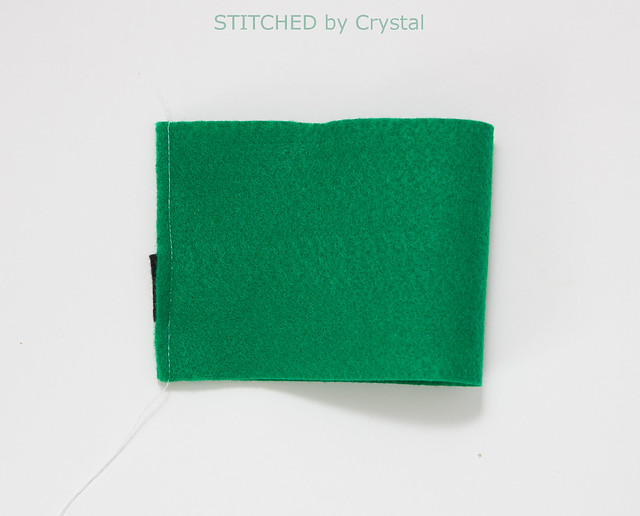
Fold the hat sides in half and sew up the short edge with a 1/4" seam allowance.


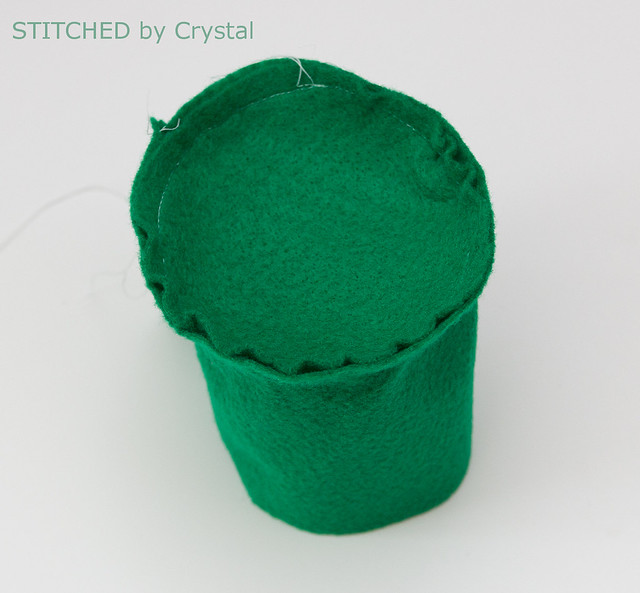
Pin the hat top to the side and sew it on with a 1/4" seam allowance.


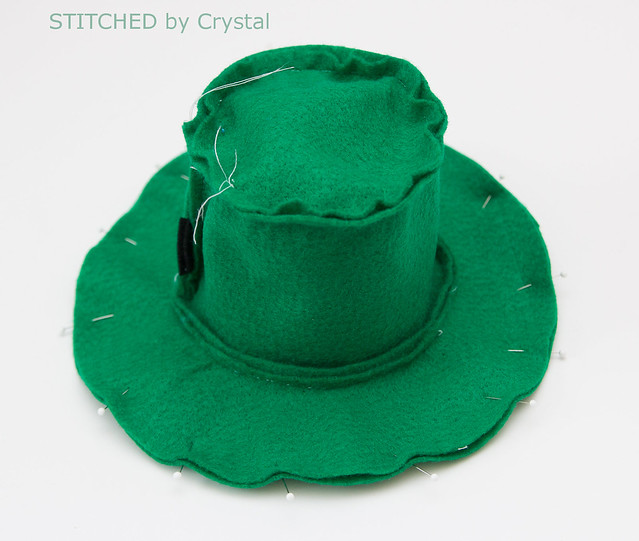
Turn the hat right side out, pin the brim piece with the hole to the bottom and sew it on.


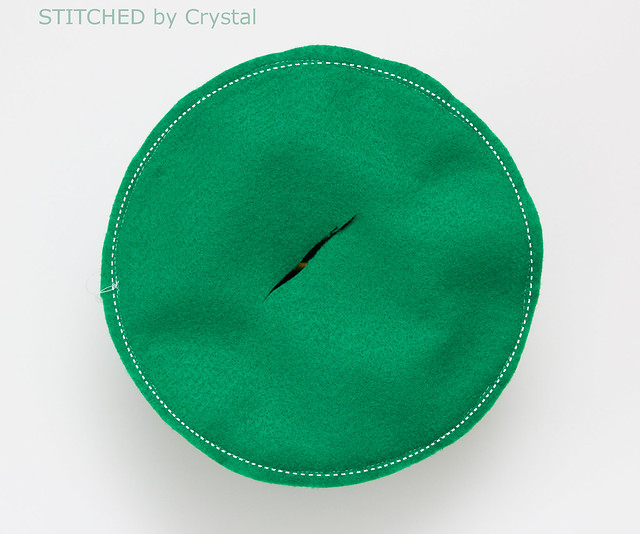
Turn the hat inside out again and pin the second brim piece to the hat along the edge of the brim.  Sew all the way around the 2 brims and cut a slit right in the middle to turn the hat.


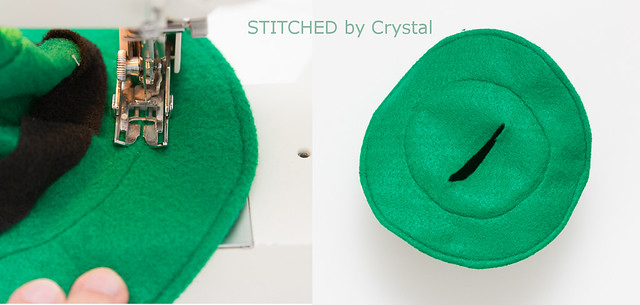
Turn the hat right sides out and top stitch around the brim and around the sides of the hat.


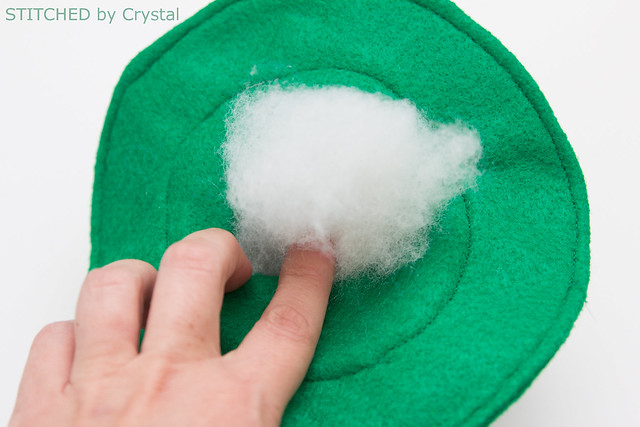
Add a little stuffing in the hole you cut to turn the hat.


Glue your headband in place with some hot glue, then use the circle cut from the middle of the brim piece to cover the hole, glue it in place.


Swing by Make it & Love it today to check out the full size version of this fun hat and to grab the free pattern to make your own!


Feb 12, 2016

Valentine Dress

There is a new little guy around here and he is pretty cute!


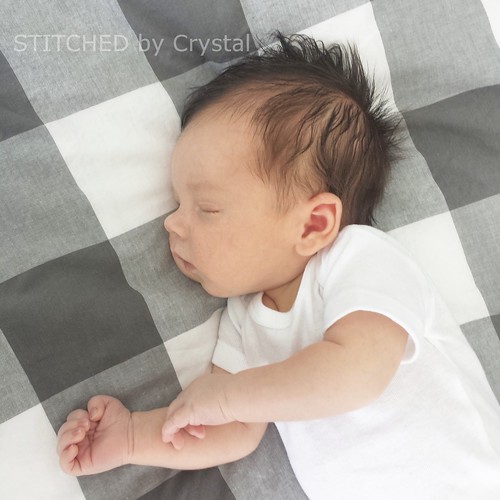
Baby J was born three weeks ago and we are all totally in love with him! At 7 pounds 12 ounces, he is the smallest (and hairiest) of all my babies and he is so snuggly!

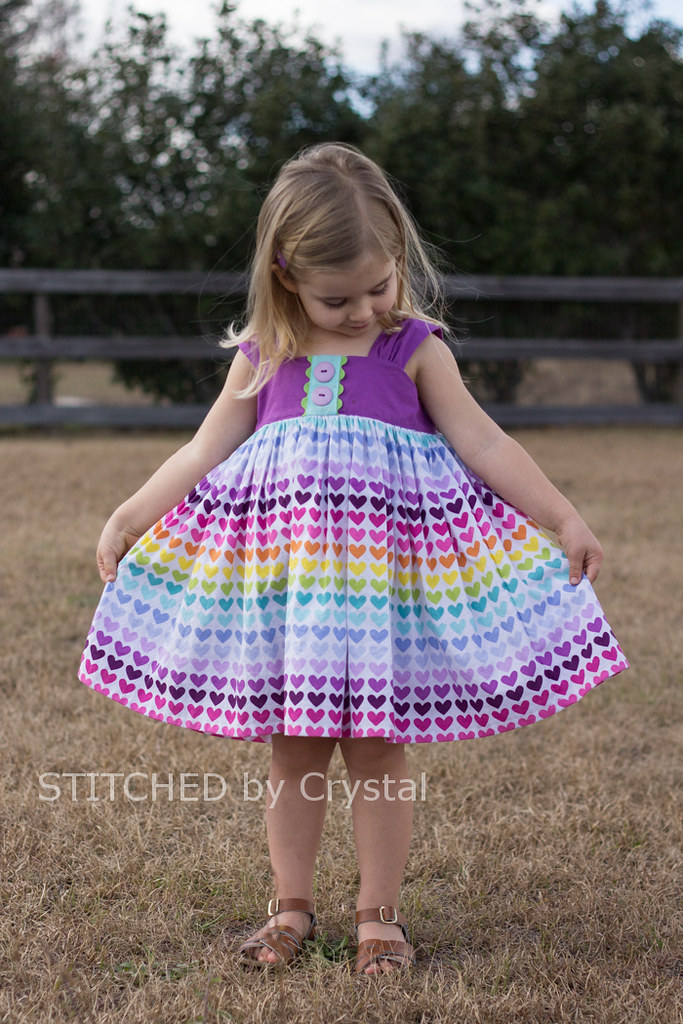
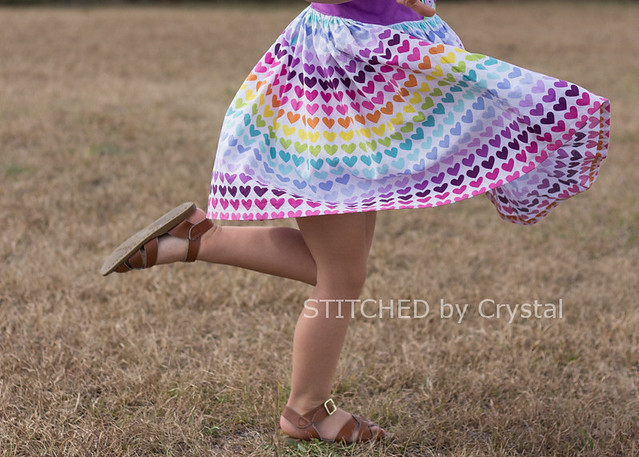
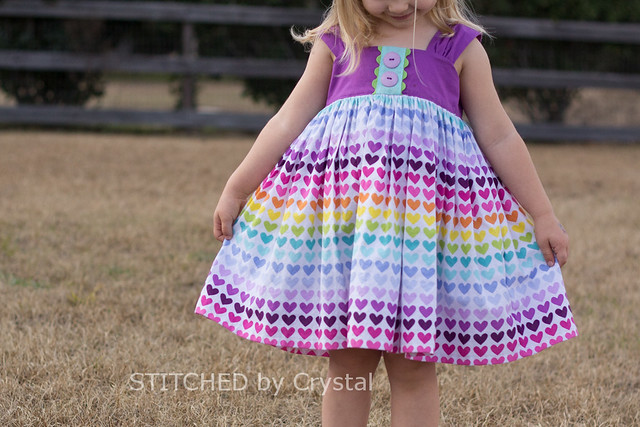
He has been taking up most of my time lately, but I did manage to squeeze in some sewing at the request of this sweet girl who needed a new dress for valentines day!


We have some springy weather around here and I can't wait to sew up some more dresses for this girl.  Now if only the grass would hurry up and turn a springy green too!


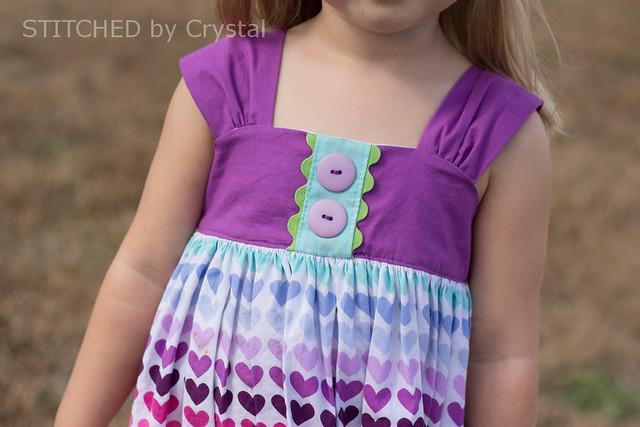
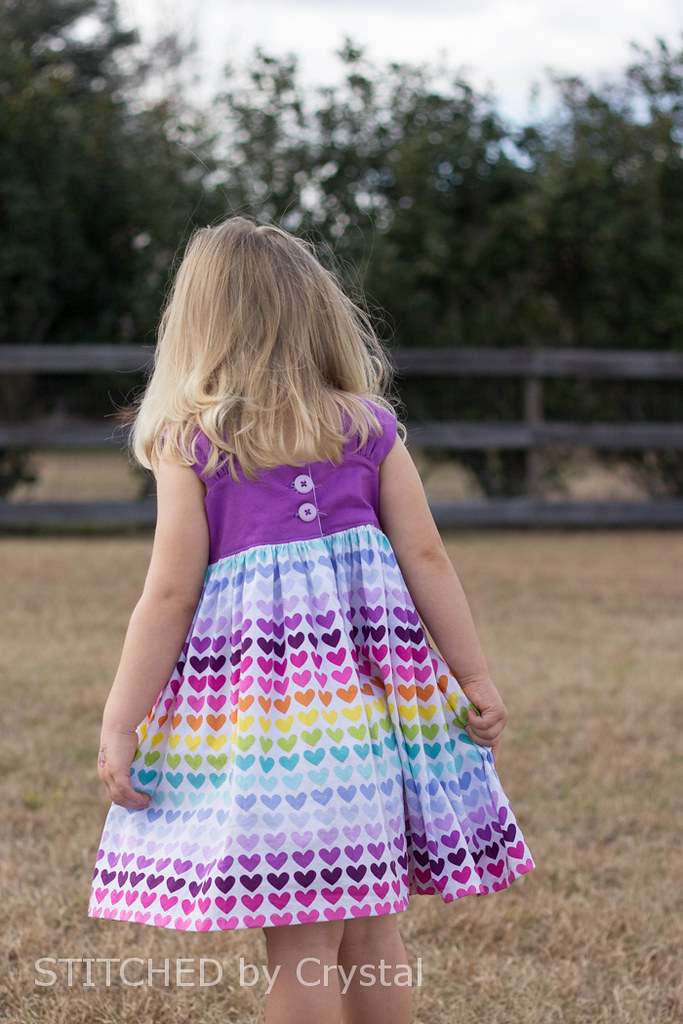
Em asked to go to the fabric store and she chose the fabrics and buttons for this dress, I love her choices!  I used the Emory Dress pattern by Izzy and Ivy, the same pattern I used for her sun dress last year with is still one of her favorites, just a bit too short now!


The pattern has button loops on the back, but I am not a big fan of button loops.  I find them tedious to sew and they never look quite right when I am done.  So I switched them out for regular button holes.


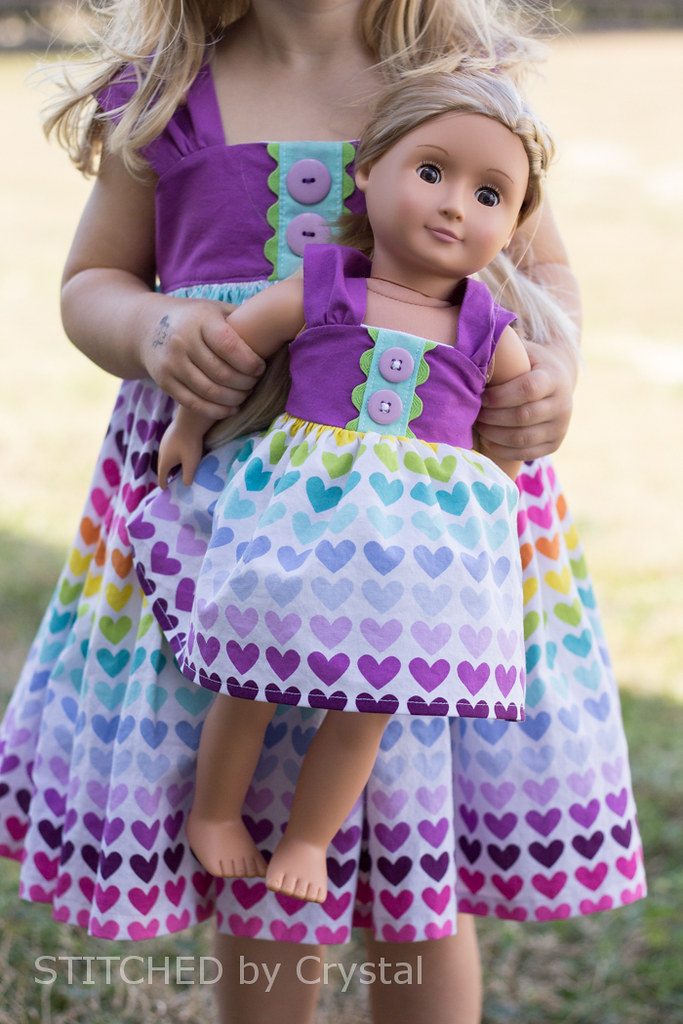
I drafted a pattern to make a matching dress for her dolly too, she got this doll for Christmas and loves when they can match!


My sewing time is a bit sparse while I figure out our new normal with three kiddos...and most of my free time is spent snuggle my new little guy!  But hopefully you will see me around here a bit more soon!


LinkWithin

Related Posts Plugin for WordPress, Blogger...
I love reading all of your comments! Please make sure your blogger profile is linked to your email, so I can respond to your questions via email, otherwise I won't be able to email you back!

Please feel free to email me(stitchedbycrystal@gmail.com).

Thank you so much for reading! I If you like what you have seen here make sure become a follower of my blog so you can catch all my updates!!